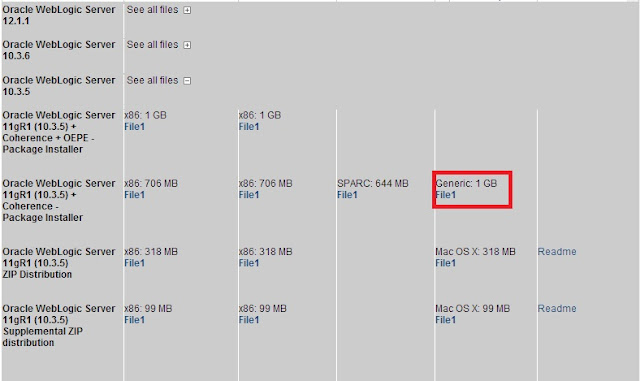
Now we are going to install WLS(Weblogic Server) & we can download Weblogic Server file from the below link:
http://www.oracle.com/technetwork/middleware/ias/downloads/wls-main-097127.html
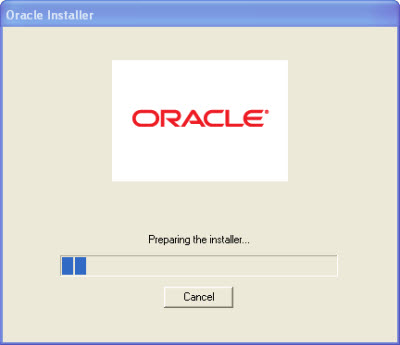
Run the "wls1035_win32.exe" executable and wait for the installer preparation to complete.
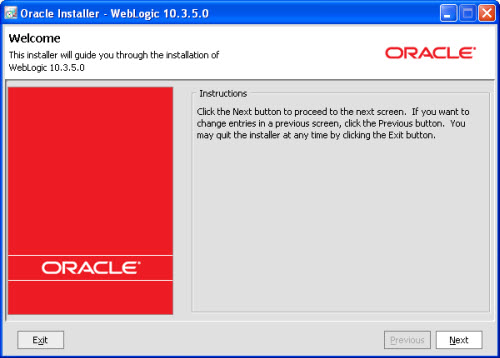
Click the "Next" button on the welcome screen.
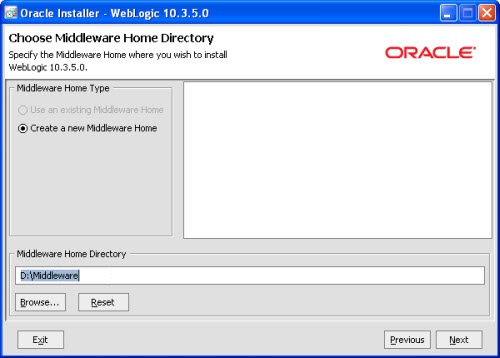
Enter a location for the middleware home directory, then click the "Next" button.
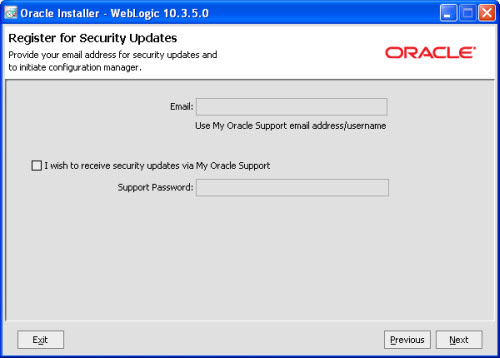
Uncheck the checkbox if you don't want security updates, then click the "Next" button.
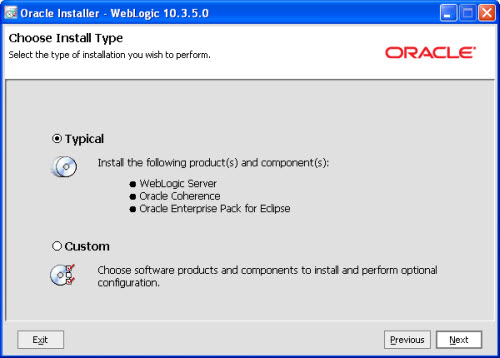
Accept the "Typical" installation by clicking the "Next" button.
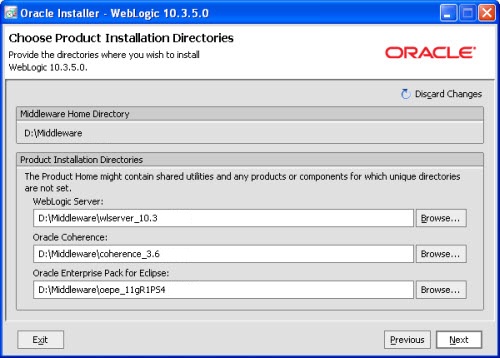
Click the "Next" button to accept the default product installation directories.
Click the "Next" button.
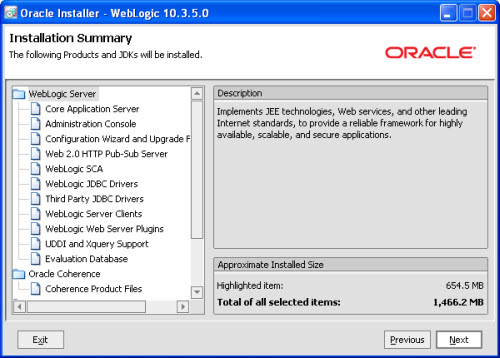
If you are happy with the installation summary, click the "Next" button.
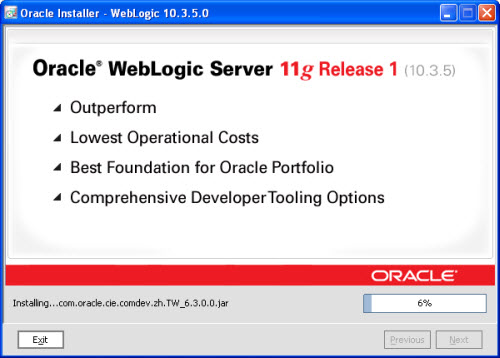
Wait while the installation takes place.
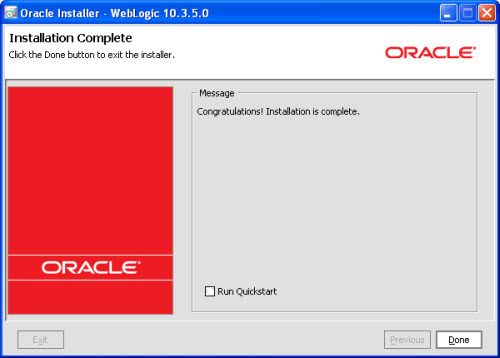
Check the "Quickstart" checkbox, then click the "Done" button.
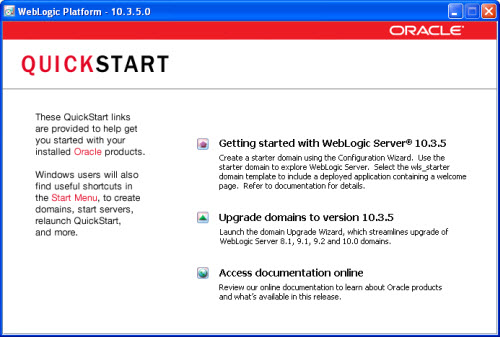
Quick Start window opens, which means WebLogic Server has been installed successfully.
http://www.oracle.com/technetwork/middleware/ias/downloads/wls-main-097127.html

Run the "wls1035_win32.exe" executable and wait for the installer preparation to complete.

Click the "Next" button on the welcome screen.

Enter a location for the middleware home directory, then click the "Next" button.

Uncheck the checkbox if you don't want security updates, then click the "Next" button.

Accept the "Typical" installation by clicking the "Next" button.

Click the "Next" button to accept the default product installation directories.

Click the "Next" button.

If you are happy with the installation summary, click the "Next" button.

Wait while the installation takes place.

Check the "Quickstart" checkbox, then click the "Done" button.

Quick Start window opens, which means WebLogic Server has been installed successfully.
No comments:
Post a Comment